Developers
Streaming your first 3D asset in under 10 minutes

Kellan Cartledge
April 8, 2026
•
10 min read
Miris streams 3D content the way Netflix streams video: your asset appears in the browser almost immediately and sharpens to full quality as the geometry loads progressively. You don't download the whole file before anything renders. Instead, spatial streaming delivers geometry in layers, starting at a low level of detail and resolving upward in real time.
That's a fundamentally different approach from the conventional 3D-on-web workflow, where you export a model, compress it, host it, and hope the person on the other end has a fast enough connection to download the whole thing before they lose patience. For teams working with high-fidelity assets, that pipeline compounds quickly: file sizes balloon, quality gets sacrificed for performance, and the result rarely looks like what you built.
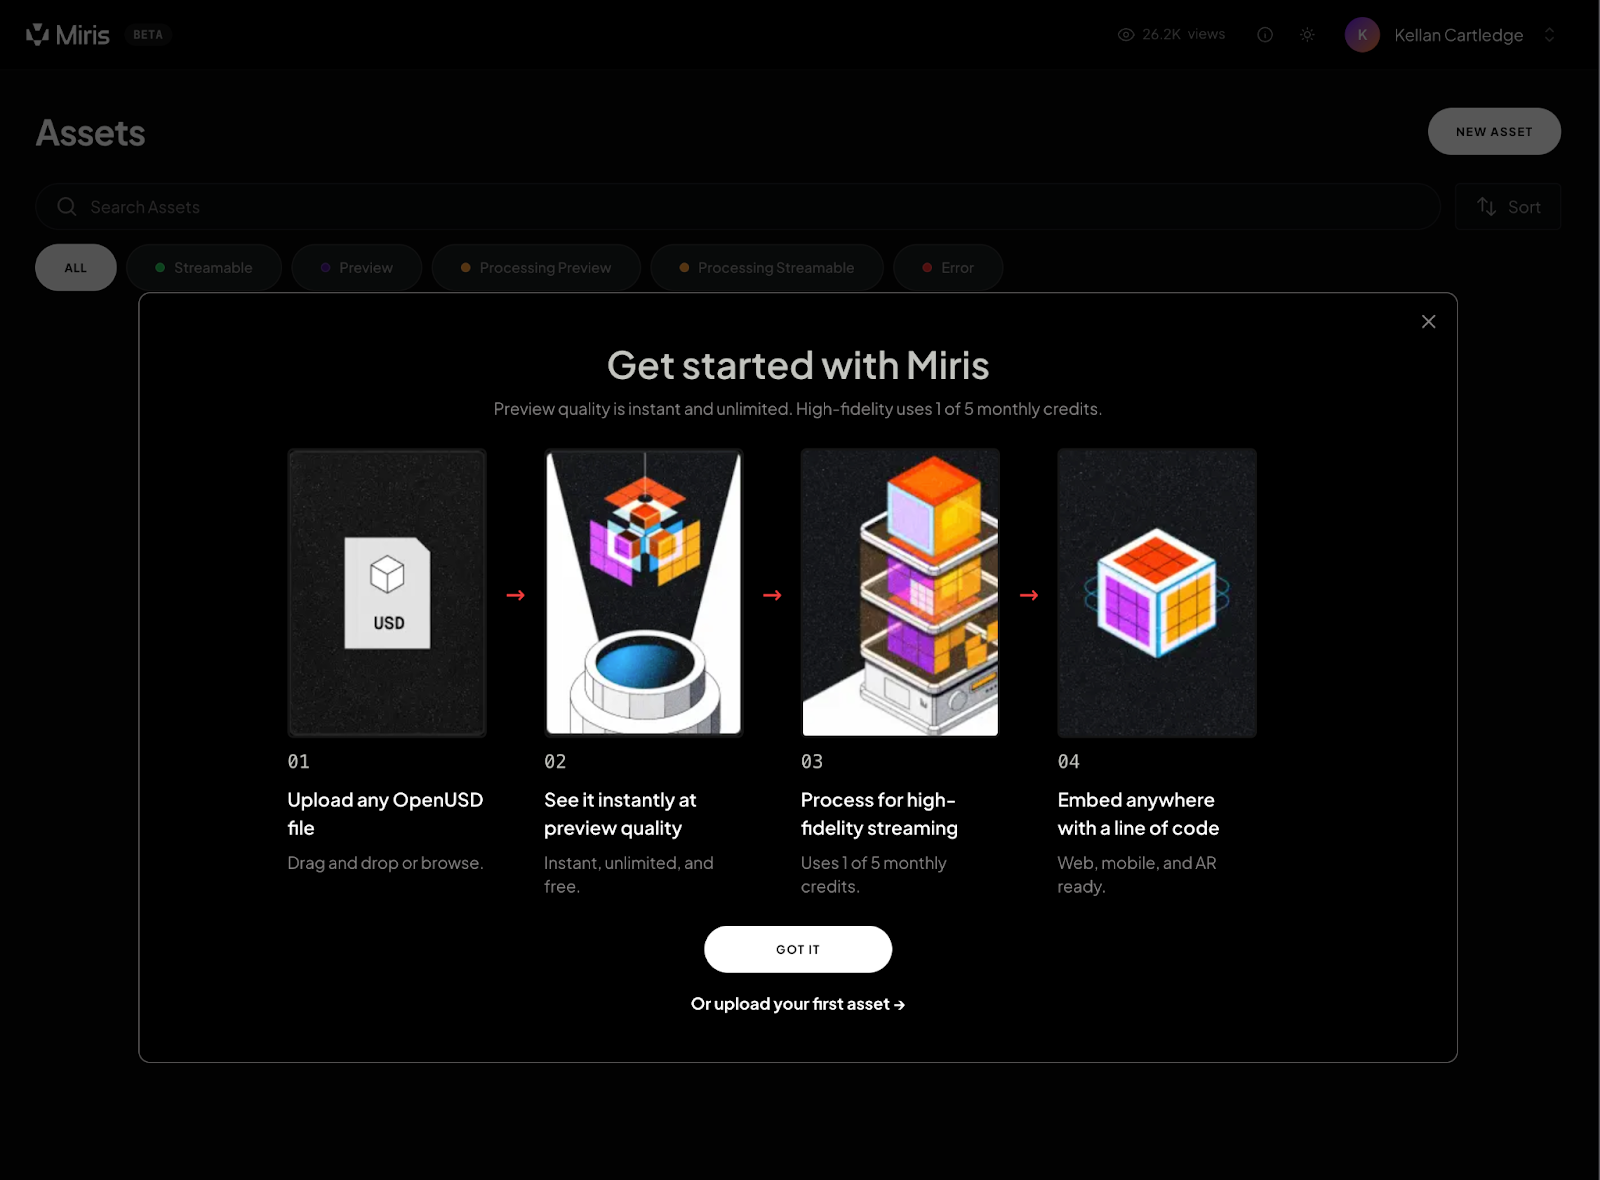
In this guide, we'll walk through the entire process of uploading an asset to Miris, generating a streamable version, previewing it in the browser, and sharing it with anyone who has a modern browser. No account required on the recipient's end, no plugins, no software installs.
Make sure you have a Miris beta account before continuing. To sign up, go to Miris.com/beta. Once your account is active, log in and you'll land on the Miris Portal.
Once you're logged in, you'll land on the Miris Portal. The Portal is your home base for managing assets, viewer keys, and account settings. Take a moment to look around, but for now we only need two things: an uploaded asset and a viewer key. We'll cover both in the steps below.
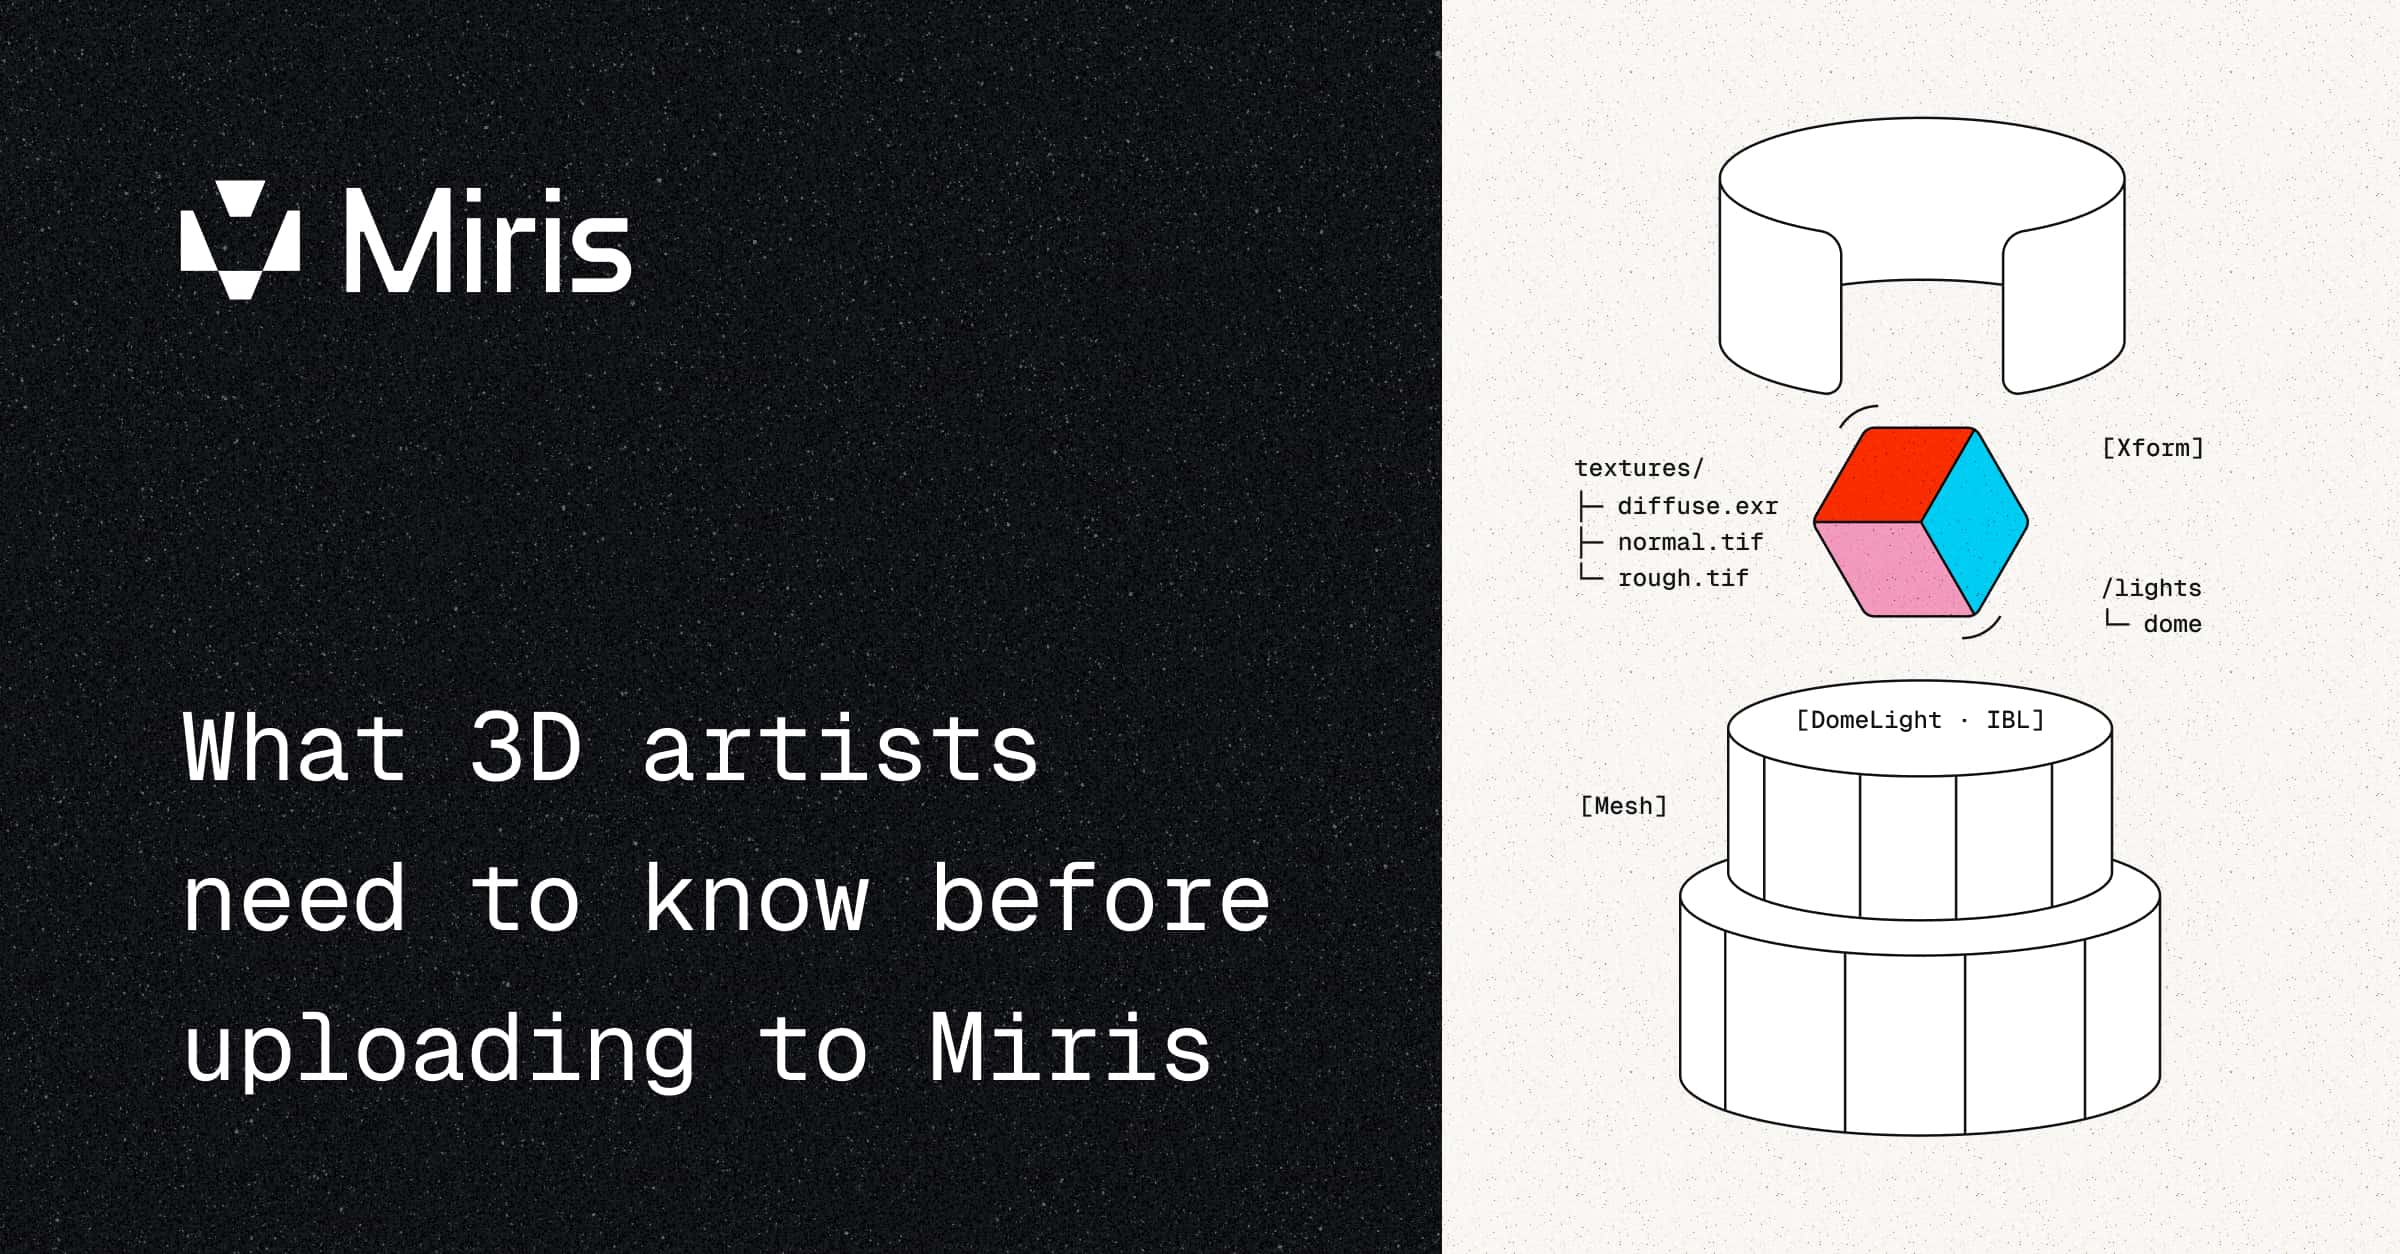
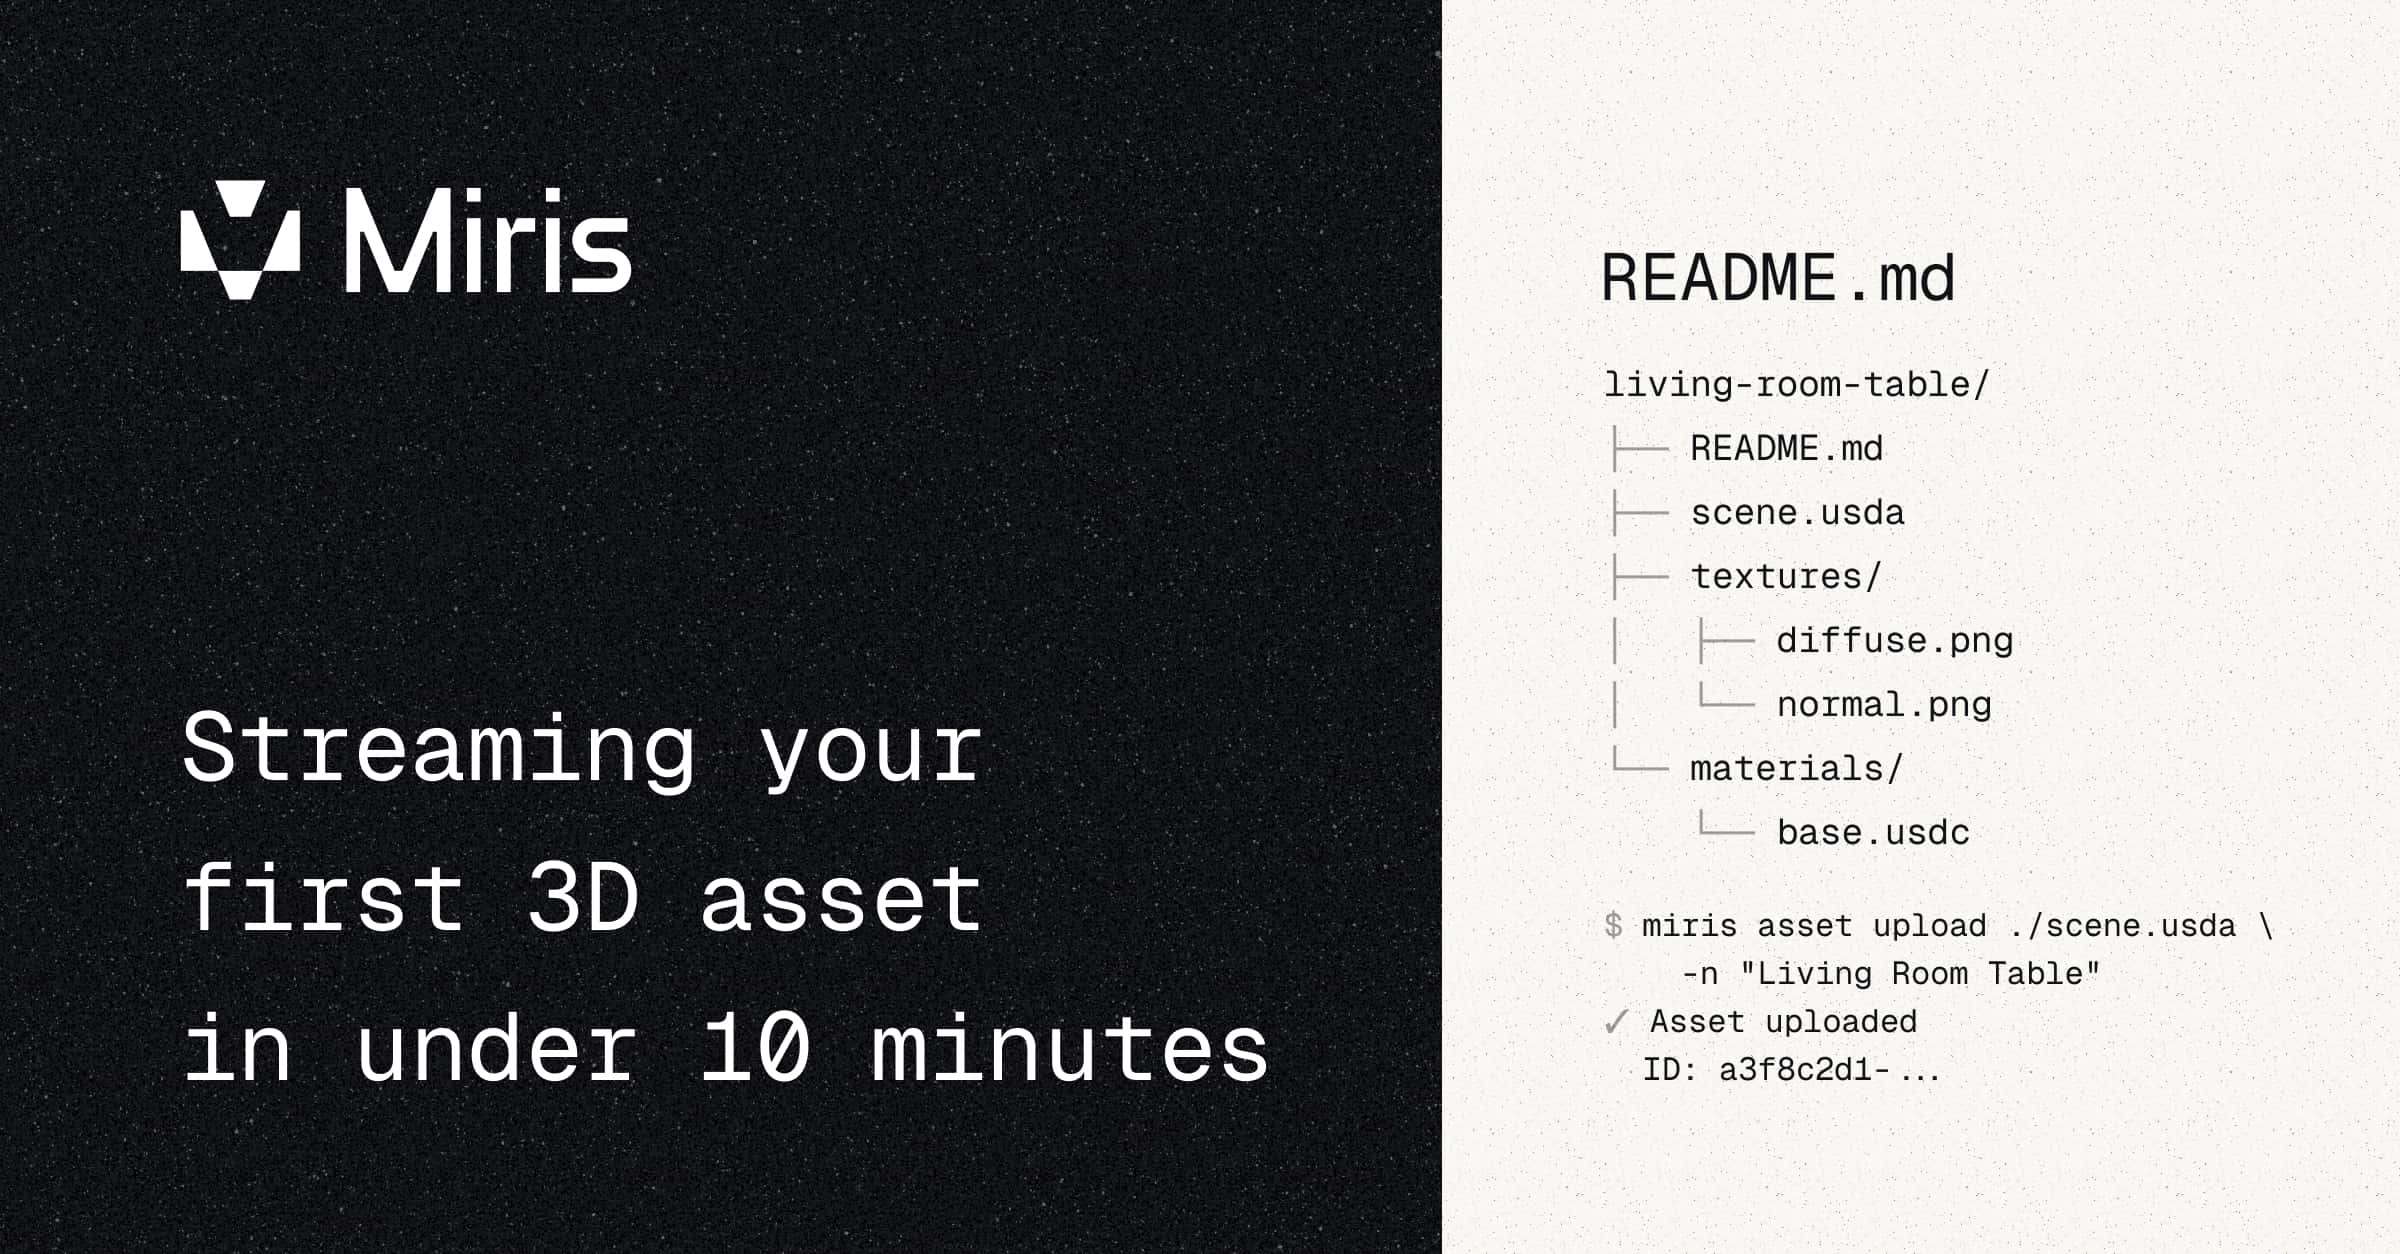
Miris uses USD (Universal Scene Description) as its input format. Originally developed by Pixar, USD has become the widely adopted standard for exchanging 3D content across tools like Blender, Houdini, Maya, and others. Supported file types include .usd, .usda, .usdc, and .usdz. If your asset is made up of a root USD file plus textures or other dependencies, upload the entire folder rather than a single file.
If you're working in 3D, your tools can almost certainly export to USD already. If you don't have a file handy, grab a free sample from the Miris documentation or OpenUSD’s sample assets library.
Upload the highest-quality version of your asset. Don't reduce polygon counts or downsample textures before uploading. Miris handles all optimization internally, including AI-assisted spatial compression, LOD generation, and intelligent simplification. The quality of your streamed output is directly tied to the quality of what you put in.
In the Miris Portal, navigate to the Assets page and click New Asset. This will open the new asset upload modal.
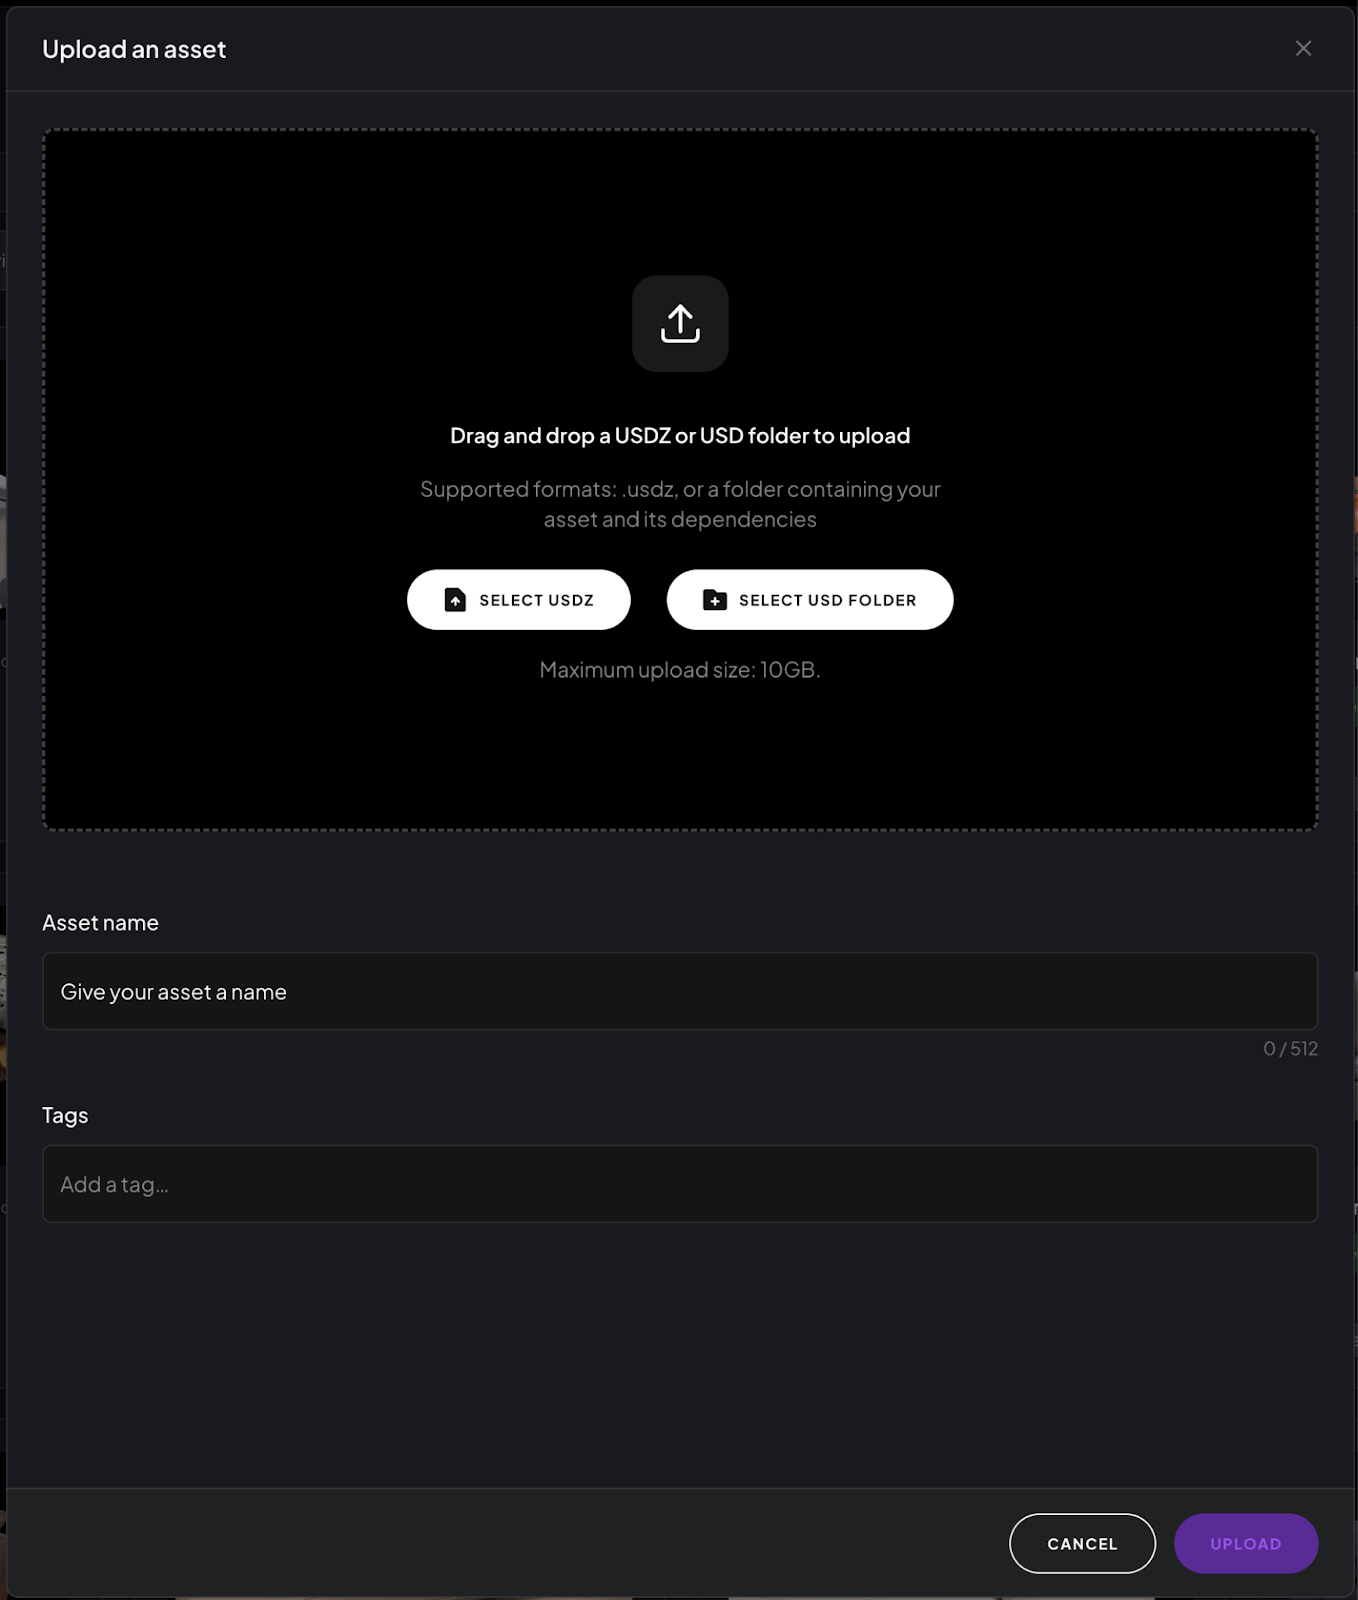
In the upload modal:
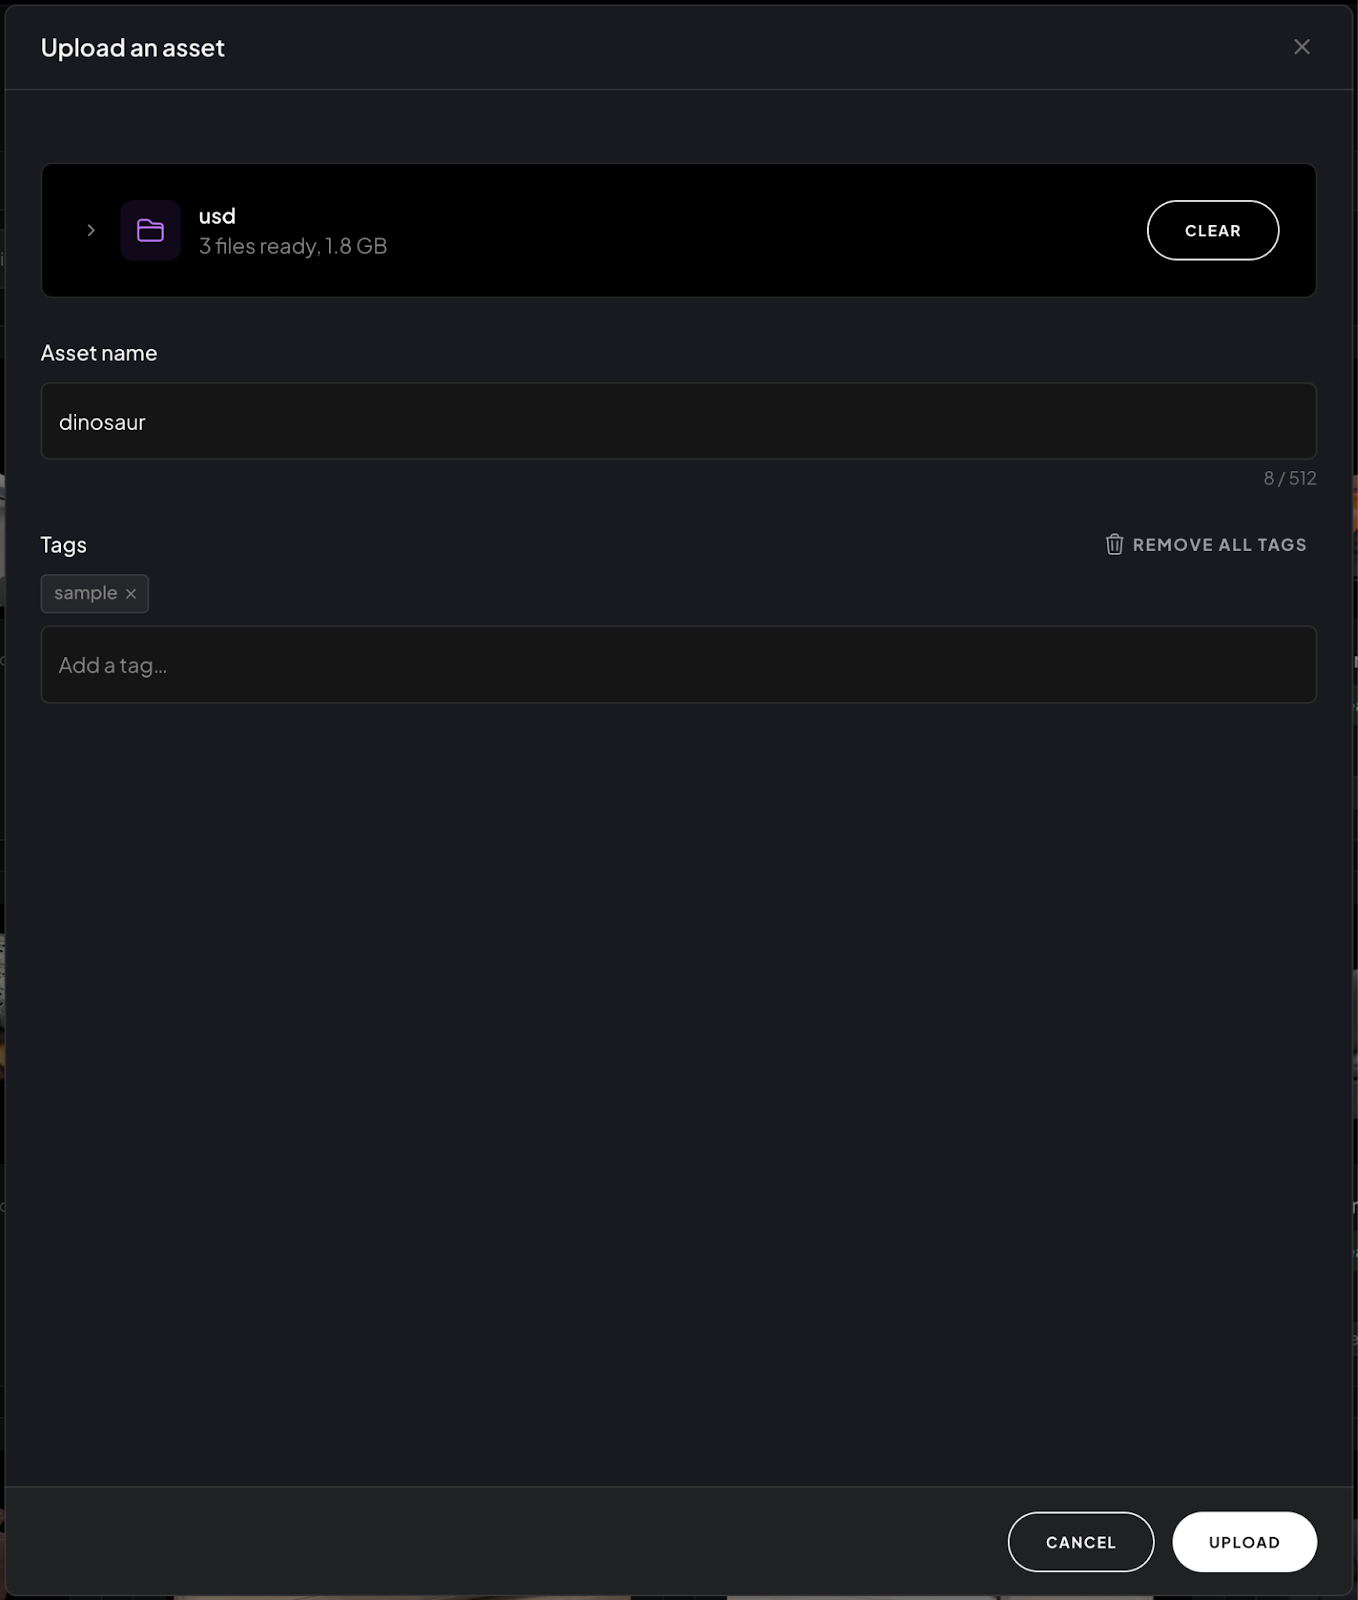
Once the upload completes, Miris will process a preview of your asset for streaming. This usually takes just a few moments. When it's done, you'll see a preview of your asset on its detail page with a unique Asset ID. Copy this ID and keep it somewhere handy. You'll need it in the next step.
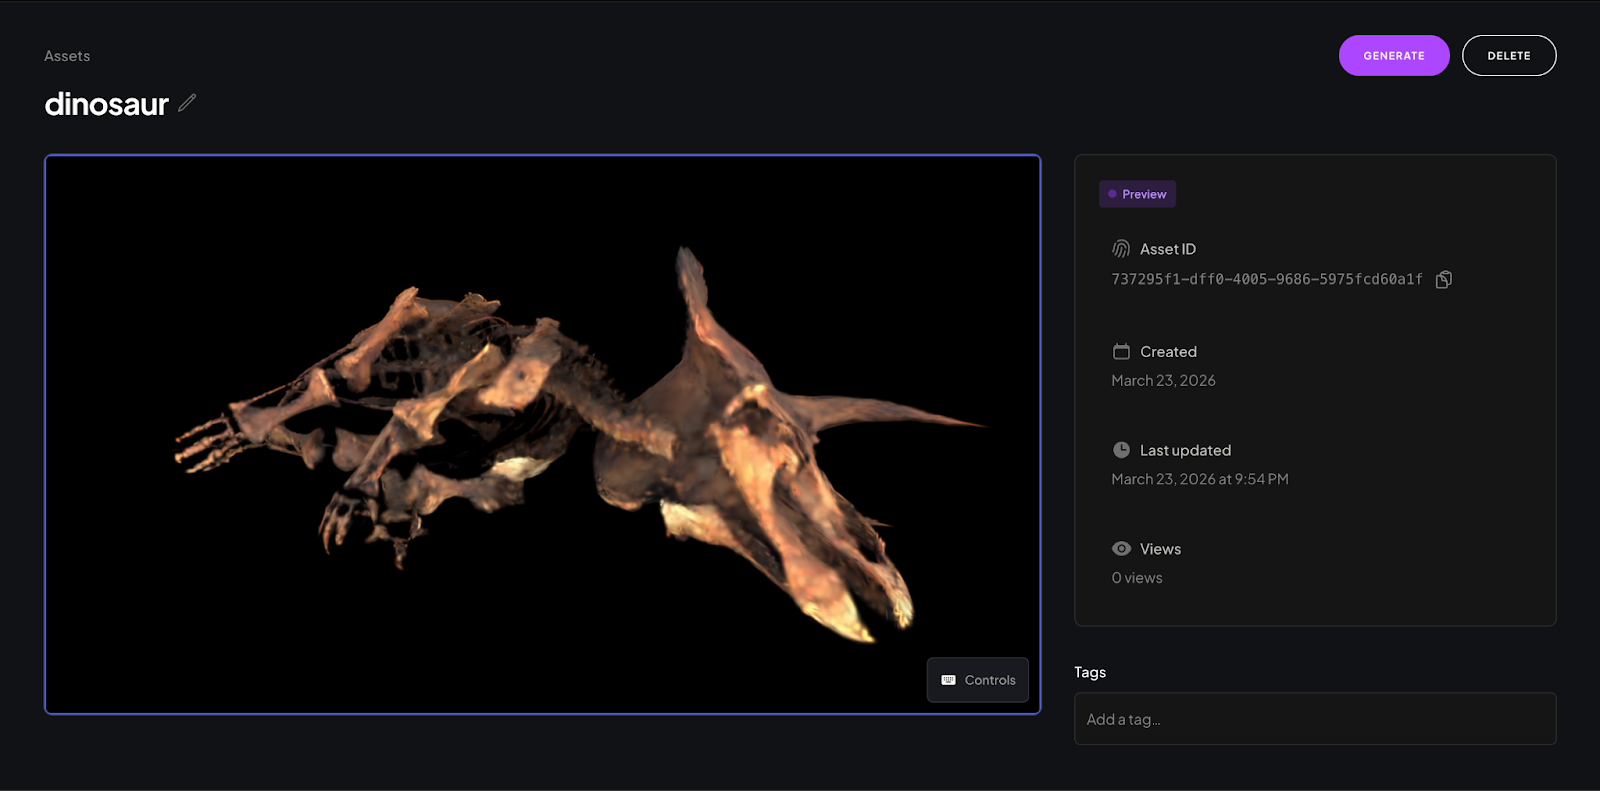
At this point, your asset will be marked as Preview. Click Generate to begin processing the full streamable version. This takes longer than the preview step. When the streamable version finishes processing, you will receive an email notification. Feel free to get up and stretch your legs.
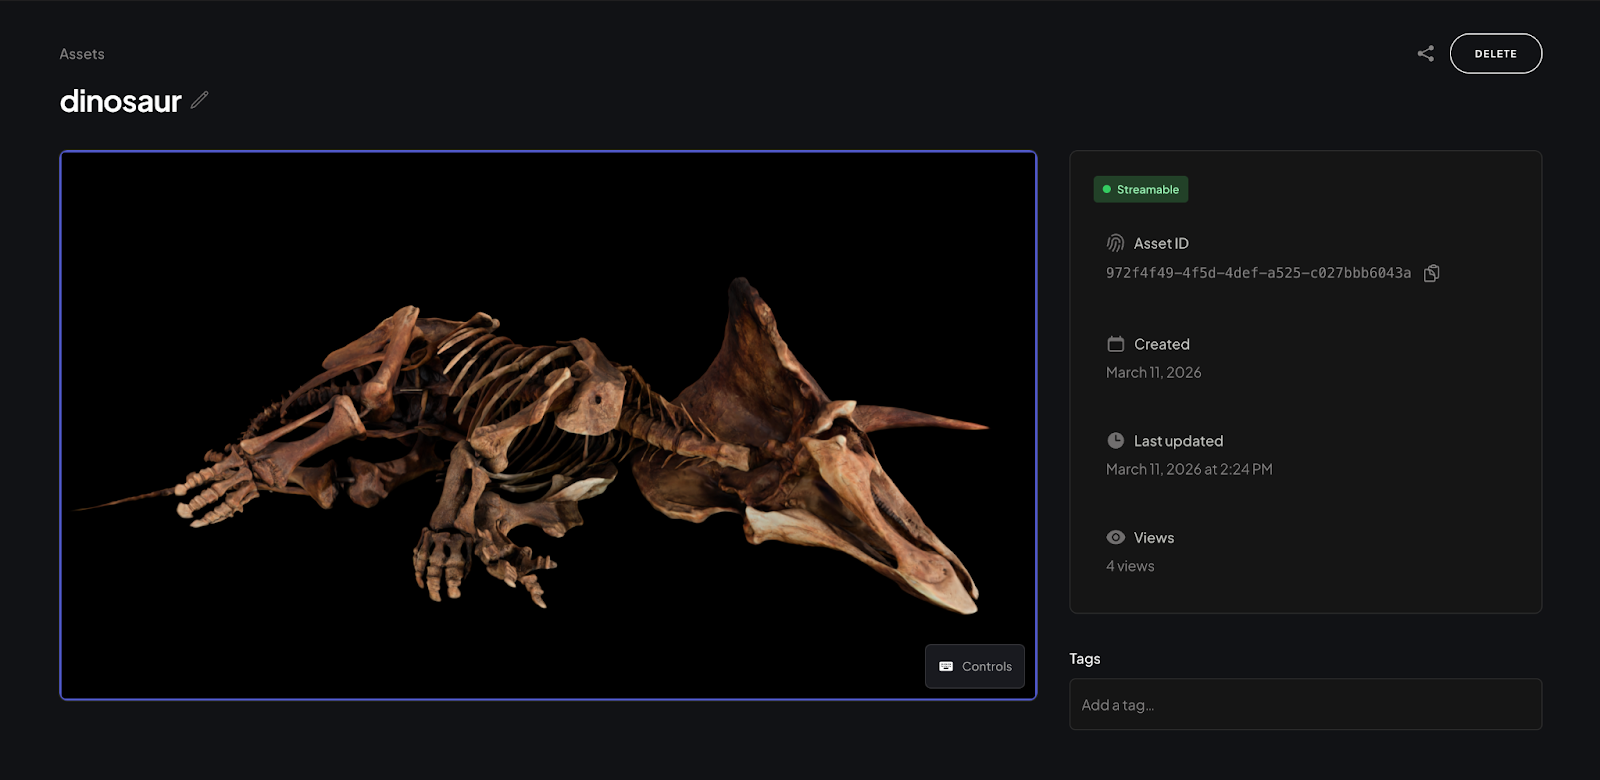
Checkpoint: Your asset is listed in the Portal with an Asset ID you can copy.
A viewer key is what tells Miris your account is authorized to stream assets. Think of it like an API key for your viewer session: without one, nothing renders. You'll need it to preview your asset and to share it with others.
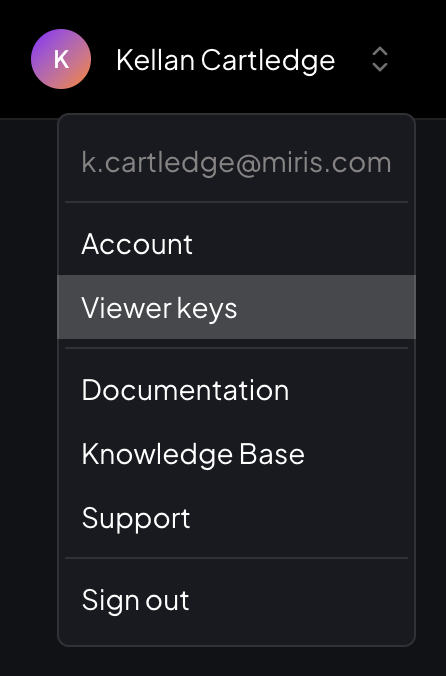
In the Portal, select your profile and click Viewer Keys.
Give your key a recognizable name (something like my-first-key) so you can identify it later, then click Create.
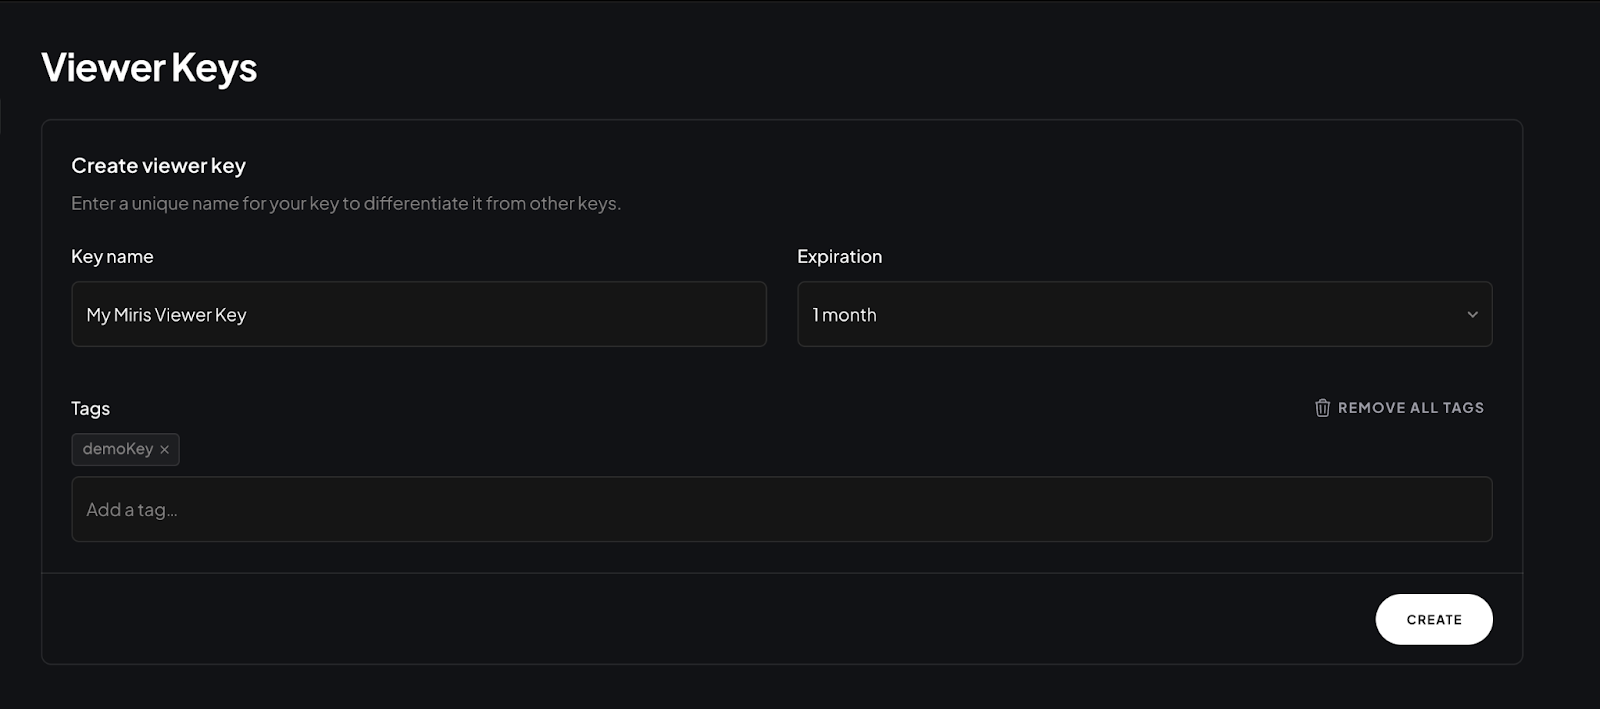
Important: your viewer key is only shown once. There is no way to retrieve it after you leave this screen. Copy it immediately and store it somewhere safe, like a password manager or a secure note. If you lose it, you'll need to generate a new one.

Checkpoint: You now have two values: your Viewer Key and your Asset ID. These are everything you need to stream your asset.
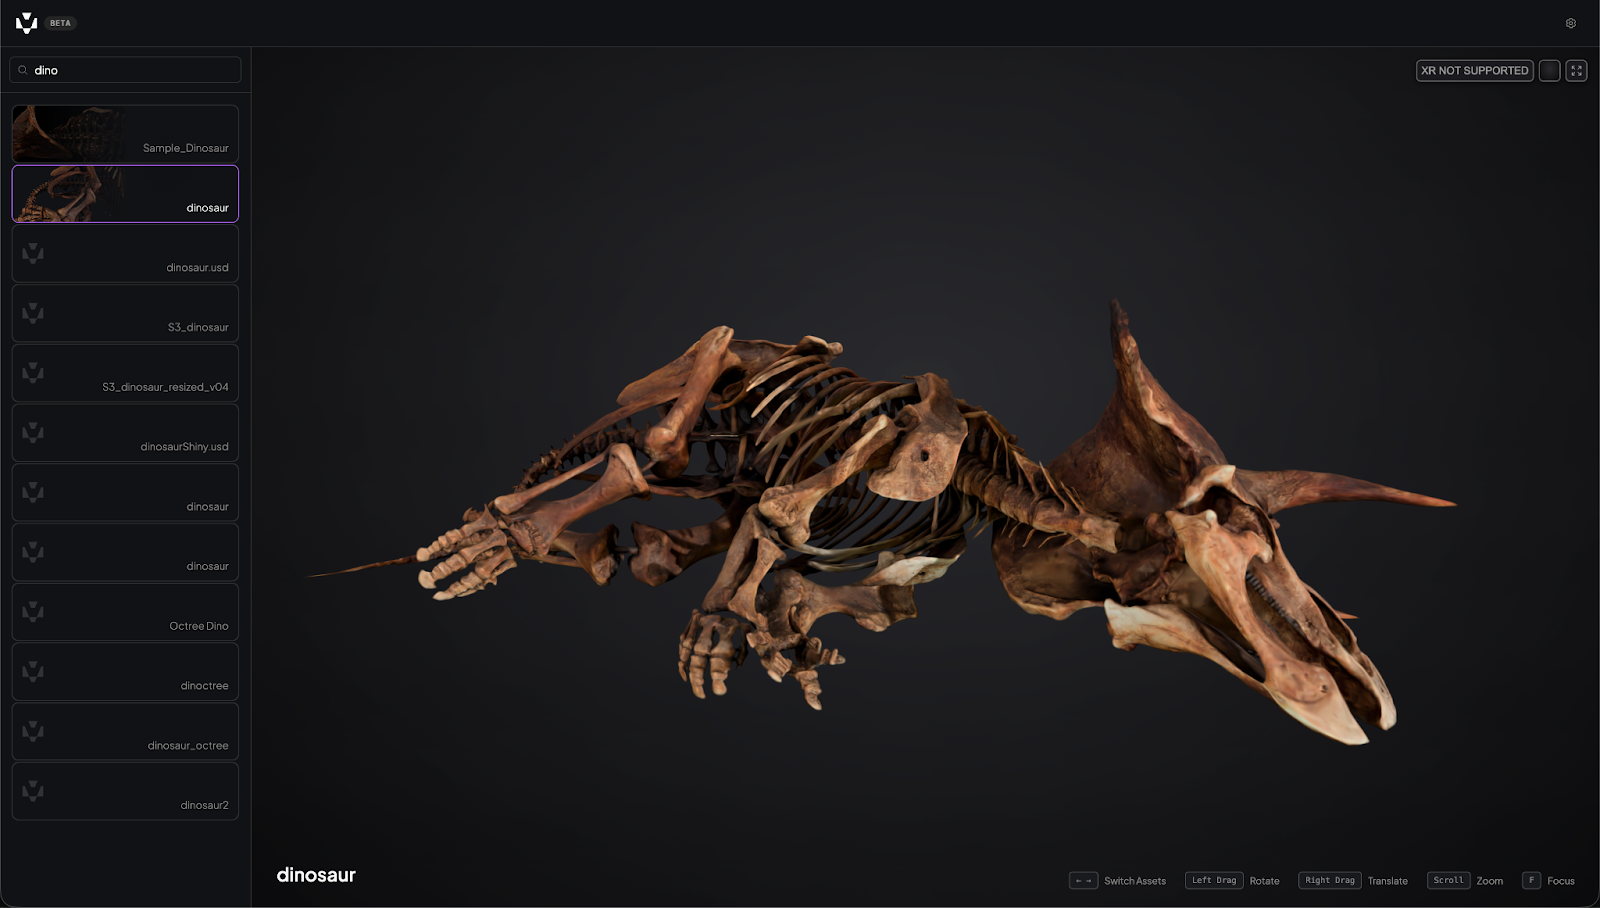
Head over to the Miris Player and select the gear icon to enter your viewer key. Then select your asset from the list or search by asset ID.
In less than a second, your asset will appear in the browser. You'll notice it loads almost immediately at a lower level of detail, then sharpens progressively as the full geometry streams in. That's spatial streaming in action. Quality adapts in real time to device and network conditions for smooth performance
One thing to keep in mind: if you clicked Generate but haven't received the processing email yet, you may be viewing the Preview quality version of your asset rather than the full streamable version. Preview quality is instant and unlimited. The full streamable version takes more time to process but delivers maximum fidelity. Both stream progressively. The difference is resolution ceiling, not the delivery mechanism.
Once the streaming version is ready, you're looking at your full-quality asset right in the browser.
Try interacting with it:
Checkpoint: You just went from a local file to a 3D asset streaming in a browser. That's the core Miris workflow.
The Online Viewer generates a shareable link that anyone can open in a modern browser. No Miris account required on the recipient's end, no software to install, no plugins to configure. The link is the asset.

Copy the link and send it to a colleague, a client, or your team. When they open it, they'll see the same progressive streaming experience: the asset appears quickly and sharpens to full quality as the data streams in.
A few things to keep in mind when sharing:
Want to see this action? Try playing with this asset in our Miris Playground.
You've uploaded an asset, generated a streamable version, previewed it in the browser, and shared it with a link. That's the complete first-run workflow, and it works the same way whether you're a developer evaluating Miris for a production pipeline or a 3D artist sharing work with a client for the first time.
Where you go from here depends on what you're building:
Happy streaming.